
How To Use Rate Limiting In ASP.NET Core?.

Rate limiting is a technique used to control the number of requests a client can make to a server within a specific time period. In ASP.NET Core, you can implement rate limiting using middleware and configuration options. Here's a step-by-step guide on how to use rate limiting in ASP.NET Core:
Step 1: Install Required NuGet Packages First, install the required NuGet packages for rate limiting:
dotnet add package AspNetCoreRateLimit
Step 2: Configure Rate Limiting Options In your ASP.NET Core application's Startup.cs file, add the rate limiting configuration in the ConfigureServices method:
This middleware will be responsible for enforcing rate limiting based on the configured options.
Step 4: Configure Rate Limit Rules In the appsettings.json file, add the rate limit rules under the "RateLimiting" section:
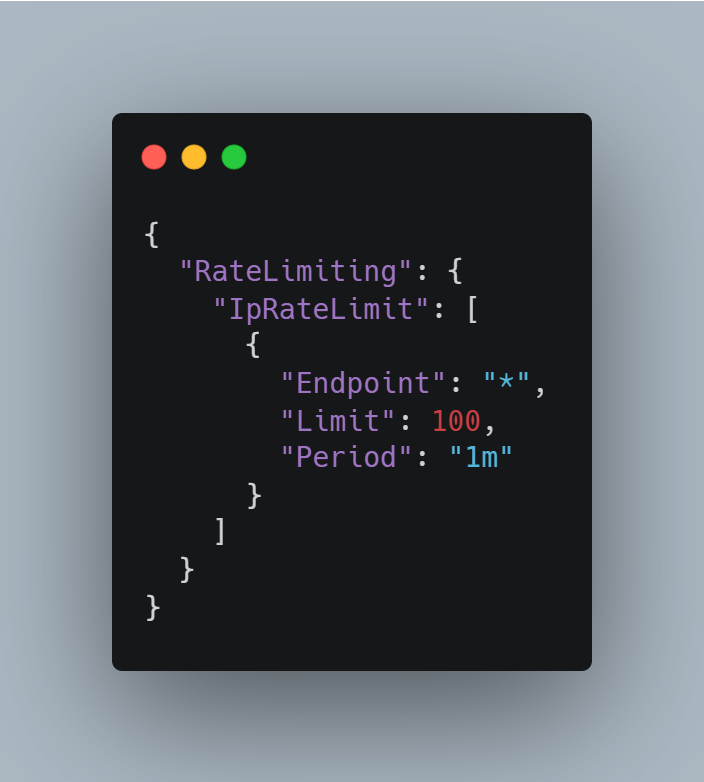
In this example, we set a rate limit of 100 requests per minute for all endpoints. Customize the rules according to your desired rate limits and specific endpoints.
Step 5: Test the Rate Limiting With the configuration in place, your ASP.NET Core application will now enforce rate limiting based on the specified rules. Test the rate limiting by sending requests to your application and observing how the rate limits are enforced.
Rate limiting is an essential technique to control access to your application and protect it from abusive or excessive requests. By following these steps, you can easily implement rate limiting in your ASP.NET Core application using the AspNetCoreRateLimit library.